Tuesday, June 5, 2018

Get It Scrapped | Our Dad

It was his birthday yesterday. And I had never made a layout specifically for him and him alone. So when the fatherhood assignment came up on the Get It Scrapped Creative Team, I jumped on the occasion. I loved doing this page.


I used die cuts from my collections: Here Comes The Sun, Potpourri and Home For Christmas to gather everything represents him...


I added a fair amount of text. :) Typed directly on the background with my fabulous 12x12 printer. I love when I use it to it's full potential!! haha! And i stitched around the page following the side of the text to create large frame. I then knew where to put my photo and the embellishment. It's called an organized chaos. :D


I played with icons, colors, shapes, sizes and materials (gold paper clip, gold foil, baker's twine with a thread of gold, flair buttons)


These letters are pretty cool! You can take the mille out to make outlined letters, or you could use the outline + the inside to have a full letter. The inside is white. The letters are from American Crafts.


I added some die cuts at the top and on the side to tie the bunch of die cuts and the photo together.
Oh and I had lots of pictures I could have used. My initial idea was to use many small photos showing Dad interacting with all of us, but I finally settled for one larger photo of all of us in a very happy moment. Love the colors! And that everyone here in genuinely happy. No fake posing.


I chose to stamp the date of the day I made the page.  Not the date of the photo (which was taken last summer)

Have you ever made a page about your husband? Or your dad??! Watch out for ways do scrapbook fatherhood on the Get It scrapped blog.


Tuesday, May 1, 2018

Get It Scrapped | Today I am Golden

Hey everyone,

today, Get It Scrapped is shining the light on every part of a scrapbook layout:

1) Canvas, 2) Photos, 3) Journaling, 4) Titles, 5) Embellishments

I am playing along by sharing a layout where the focus is on the title.


I have to admit that my layout finished way more loaded than how I thought it would. But I still think that my title gets the focus because of all that white space around it. The empty pulls the eye away from the business of the rest of the page.


I used 2 different alphas. Both are foam, both are capital letters, one is smaller and white while the other one is much taller and very shiny and sparkly. I added a golden puffy sticker on top, right in the middle and I also added a giant balloon that I stamped over some gold leaf I had previously applied.


My main photo is right next to the title and also pulls the eye in with the golden balloons and again, the empty space in the photo. I added a subtitle right next to this photo: a giant 9 gold puffy sticker.


Separating the title and main photo from the smaller supportive photos, I layered 3 ribbons. One solid pink with some dark pink and glittery leaves motif, a transparent tule kind of ribbon. It was very wide so I folded it in 4, which gave it more consistence than a single layer would have had. And I topped all of these with a narrow gold ribbon that I glued in place forming circles.


Under that shelf of ribbons, 4 photos developing the story a bit more.
And my journaling, of course! I printed it on white cardstock and cut it out into stripes. I glued them loosely, creating small hills to give movement to the page. I also added some gold leaf here in that corner.


I finally added a gold foiled label with the date.

Visit the Get It Scrapped blog to see how the creative team made their layout part stand out! 

Marie 
SaveSave

Tuesday, April 24, 2018

Get It Scrapped |Best Costume Award

Hey everyone,

Here's a layout I made for Get It Scrapped using my new Potpourri collection (available at Pretty Little Studio).

If you follow me on Instagram (@mpcapistran), you'll probably know that I now have a very talented team of designers working playing with this collection. So for inspiration, check Instagram out!
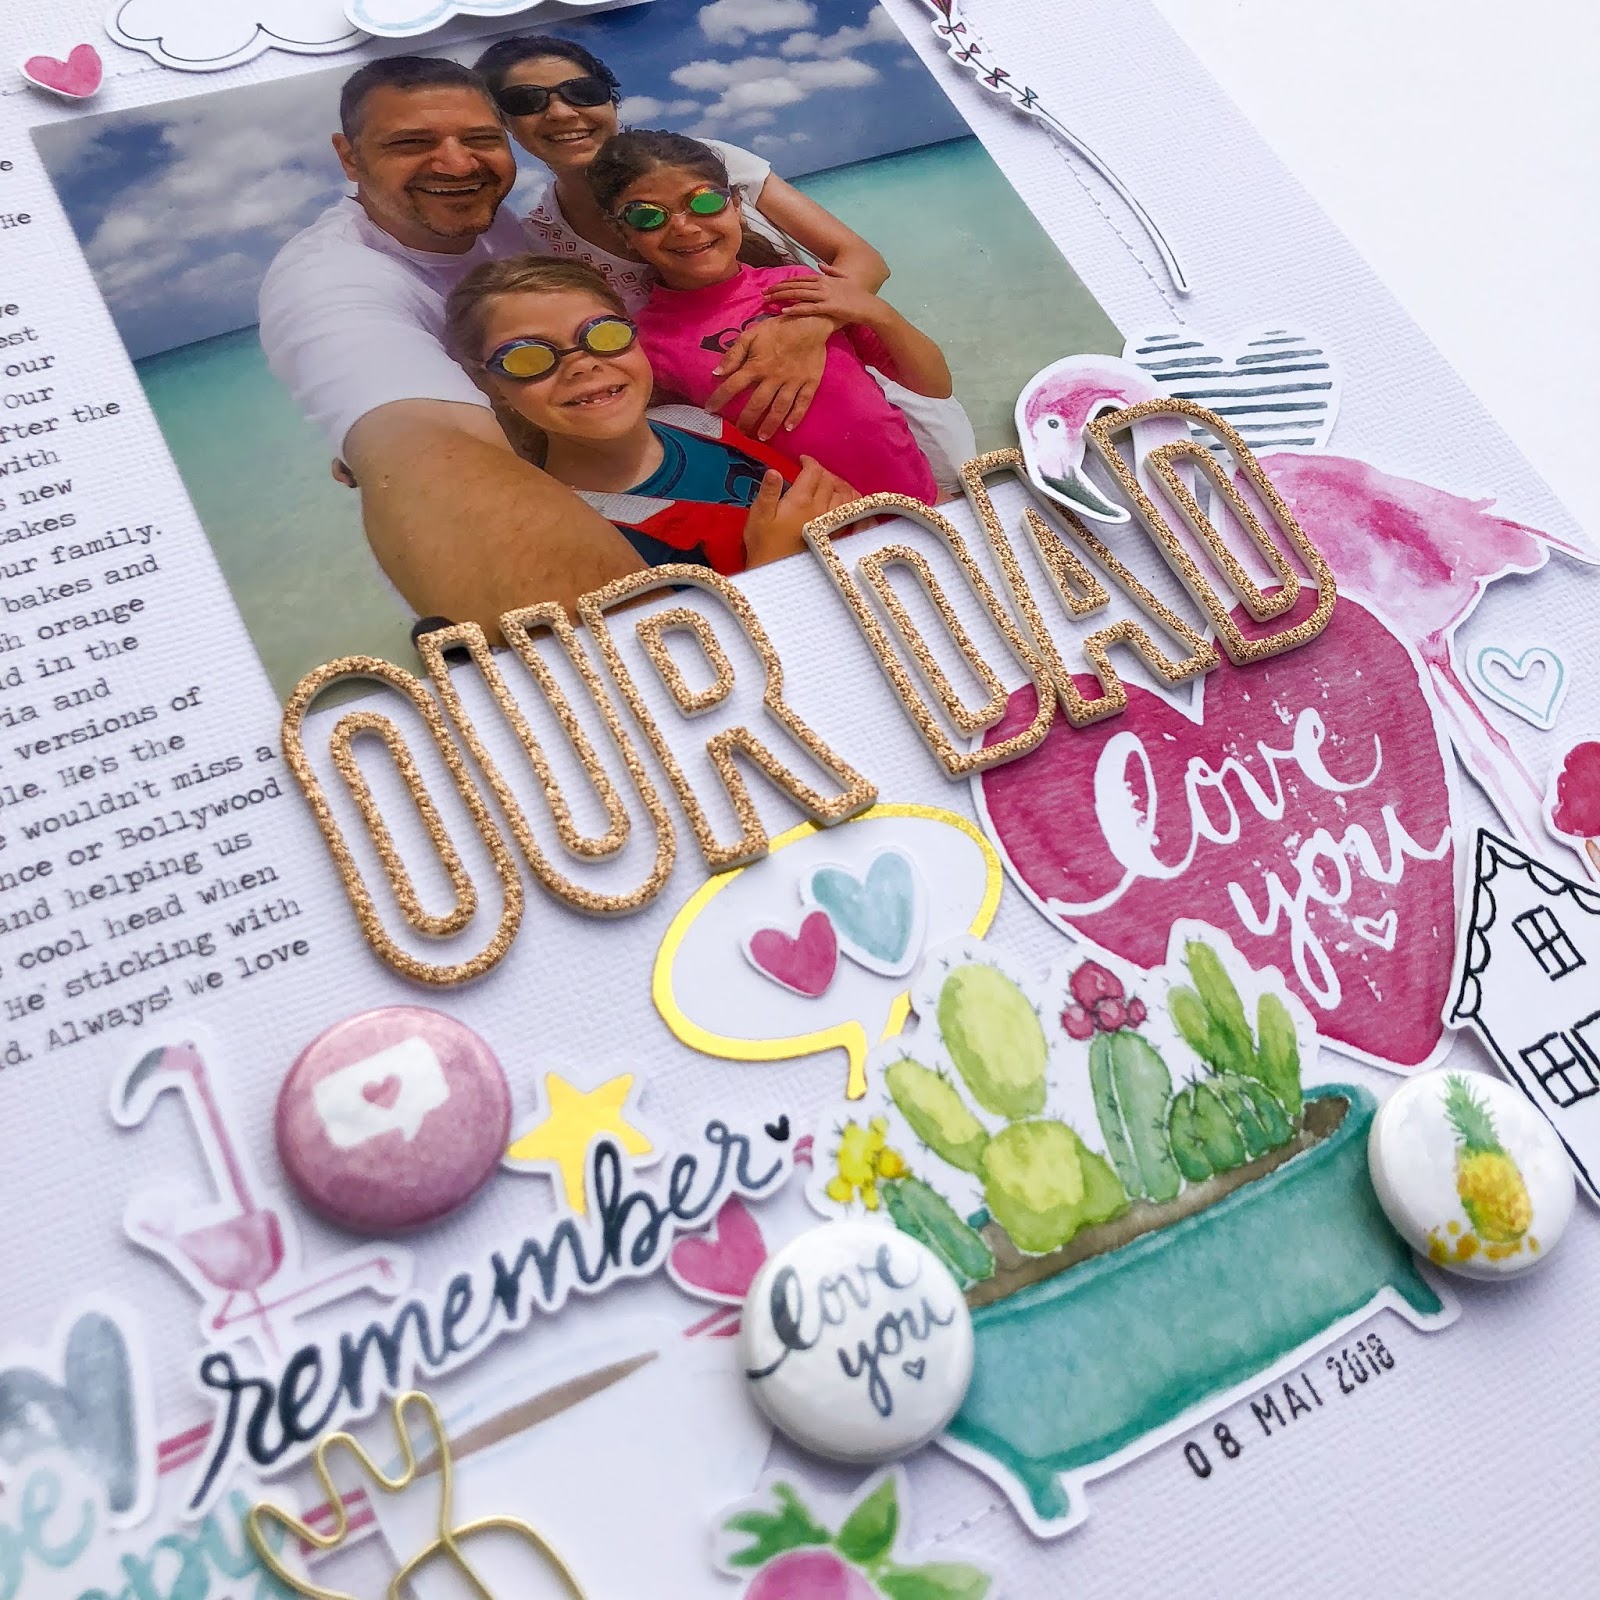
Here's my layout:


The story:

This year just before Halloween I found a makeup artist on Instagram (@classycozmetics) and I started following her. She had a video of her as this wooden doll. I fell in love with that make up and decided that's what Arielle would be for Halloween. I gathered the supplies and right after school, I got to work! I took me 2 hours to get this together! Thanks to my friend Lisa, Maya transformed into a cute little lion! Were usually not very big on costumes but this year, we went all in! :)

The page details:


Here's the main picture and the journaling. Short and sweet. I stitched around the polaroid frame.
The die cut word October doesn't work as the title, but add an element of journaling as well as works as a shelf on which my photos lay. I hid a small sticker label under there with the location and the date. We move a lot, so the location has to be on my layouts.


I perched that small owl on the card which is backed with all sorts of fall twigs and leaves. I added some wooden elements as well to give it a full feel: a clip, a slice of wood, and 2 wood veneers I had in my stash.


I finished that small cluster off with 3 blue sequins to tie the blue twigs with the rest of the layout.
If you look closely, you'll see that there is a date on this small Fun wood veneer. The date is NOT 2017! lol but I simply hid the end of the date under the leaves and no-one knows (this is just a way you can still use these older and dated products you probably have!)


Someone asked me how I used sequins on my layouts. Most of the time, I scatter them all over my layout. I a controlled way I would say. I pay attention to where it needs what color. I create cascades, lines, or triangles with them.


Here, I made a cute "shaker element" using patterned paper form the collection, which I've cut out in the shape of a pumpkin. I gathered sequins, topped it with a plastic sheet (I used a part of the packaging) and stitched it in place. Behind it, I added one of the vellum die cut leaves. I stitched around the leaf to give it the same texture as the shaker-pumpkin. I added a small pumpkin sticker in front of the shaker-pumpkin, again, to tie everything together and to the page. It's important to have elements in the front and also in the back to give dimension and to give the impression that everything belongs together.


You can see that I added wood here as well.


When I started adding wood to my layout I thought it would be fun to add another material: metal. so I tied this tiny metal camera charm I had laying around for YEARS! Tied to a twine bow, along with the acorn die cuts, I find it really heart warming and pretty. :) Notice too a strand of golden ribbon. Gold is always winner when making a fall layout.


To add even more texture, I stitched on all the vellum leaves. I only stitched the veins on the leaves, and not around the leaves. I feel like it gives the leaves an aspect of reality.


Again, see the purple sequins tying the leaves and the label together.


Here a cascade of sequins to pull the eye out of that huge cluster in the middle of my layout.
The red of our Elf didn't really fit with the other photo, nor with my fall theme, so I added the mushrooms from the collection as well as some red flowers from the flower die cut pack.


I like how the sequins run through my title and fell like falling leaves.


And that flair button, the smiley without a mouth, was the closest I could get to a surprised and creeped out smiley. :)


A small label to add even more details about the story.


 And one last detail shot of the embellishment cluster.

I hope you like my layout and I most importantly hope that it might have inspired you to use products in a different way.

If you want to see more creative ways of stitching on a page, head over to the Get It Scrapped blog post and be ready to be blown away!! :)

Thanks for watching!!

Marie

Tuesday, March 27, 2018

Get It Scrapped | The Expat Life

Hey everyone,

have you seen my latest layout for get It Scrapped called The Expat Life?
The assignment was to make a layout using emojis.

What I love about DT assignments and especially the Get It Scrapped assignments, is that they make me think outside the box. I don't just tell stories, I think of better stories to tell and of better ways to tell them!

So while thinking about a story I could tell with emojis, I thought to myself "well, if I want to use emojis, the story better have some emotion!" The first thing that came to mind was my over sensitive daughter, but I didn't feel like using emojis was very appropriate to scrapbook a serious subject like that one. The second thing that came to mind was the Expat Life I've been living since 20 years! That's emotional I thought! And just the right level of emotions, positive and negative, to add emojis without it being inappropriate. You know what I mean?

What the emojis and the story brought me to think of is a roller coaster, with ups and downs and twists and turns! And I had the vision of making the silhouette of a roller coaster in black paper. I googled "roller coaster" and chose the best picture I found that I could possibly convert into a cut file.


I wanted the title to follow the ups and downs. I chose 2 different fonts. One for the title and one working as a subtitle. Both are gold.


I wanted to add lots of small photos representing the past 2 years we've spent her, in Prague. I wanted pictures of ups and pictures of downs, and pictures of favorite things. My pictures go hand in hand with my journaling.


And even though I tell all the stories of the pictures in my main text, I added tiny sticker labels to sort of identify each photo/story.


I also tried to align the photos with the text. So that when I talk about a story/an idea, the photo would naturally be there where the eye is looking. It wasn't easy and I had to reprint and recut my journaling a couple of times.

Throughout my text, I sprinkled emoji stickers (from my Potpourri collection, sold by Pretty Little Studio). I didn't do this randomly. I really wrote my text and placed the emojis where they would go, have I been writing a text message to a friend.

When I write I often add little hearts here and there with and through the emojis. So here too, I added the hearts.


I added some dimension to the tiny pictures, using foam adhesive and stitching.

I also left the smileys half stuck to the page and I stitched all the journaling strips, one by one. Again, this was a tough job! As I was stitching I had to make sure my strips of paper were staying straight, and I had to make sure I wasn't taking more space then wanted because I would have gone over my roller coaster silhouette.


To break the harsh black and white contrast at the bottom of the page, I decided to fit some of my small pictures in the back and front of the roller coaster. Again adding stitching, to keep the continuity with the top of the layout.


I had to put my last sentence at the bottom of the page, over the roller coaster silhouette. I did it because space was running low, but I'm glad it ended up like this because that strip kind of attach the top and the bottom of the page together.


Have you ever made a layout using emojis? If so, link me to it. And if not and you want more ideas, check this link to the Get it Scrapped blog where you will find more fun ideas for using emojis.

Also, don't forget to visit Pretty Little Studio to shop for emoji products and my Potpourri collection. :)

Marie


SaveSave

Thursday, March 8, 2018

Pretty Little Studio | Welcome Home Maple

I can't believe I haven't blog since last October!!

But here I am with an awesome creation I made with my new Potpourri collection available at Pretty Little Studio!


Here's the whole page which was put together with 95% of products available in the Pretty Little Studio shop!! :) Let me break it down for you.


I used 3 pieces of paper: gold glitter (this is a must have in your paper collection! I adds a beautiful accent to any layout.), one colorful paper and a black and white paper, both found in the 8x8 Potpourri Paper Pack. The Combination of these 3 styles is perfect to give bling to my central photo!!

I stacked the papers on foam tape to leave some space to add small embellishments between the papers: leaves shape sequins (also from my Potpourri collection!), small star die cuts and some foiled die cuts in heart shape.


I've placed my photos on a diagonal and added the journaling in the space created by that line. I filled the small spaces with more label die cuts, stickers and wood veneer.


I the right space I loosely added leaves in a way that they look like they are falling. I sprinkled some sequins, playing with the colors and I added some stitching to add some more details.


At the very top of the page I have a large cluster of die cuts: large vellum leaves all stitched down with two lines of thread. I added a gold foiled banner on which I stamped my title in black ink. I adhered the banner with foam dots. Same thing for the speech bubble. I stitched all around the white heart in the middle of the speech bubble. Stitching is so easy with the sewing machine and it adds so much details!!! I added small wooden buttons and brads in the tones of the Potpourri collection.


Here's another perspective to see the dimension and the shimmer of the gold foil.


To sort of mat this first picture of the cascade, so that she doesn't go unseen, I added a colorful vellum leaf under it and a sticker and flair button on top of it. I then sprinkled some sequins. The check mark is really coll because it's simple shape and the fact that it is black and white is pulling from the black and white patterned paper I used under my main photo. Also the checkmark symbol is going hand in hand with my picture where my little one is checking the days that have passed and the ones left until she gets her biggie!.


On the far right, I added a fun cluster of die cuts, leaf sequin, wooden brad and wood veneer and a squirrel paperclip. Isn't it the cutest?!!

Also notice how I layered the pink label, left blank, under the gold foil banner. It just makes the banner pop even more.

I finally added a small chipboard piece, some word stickers  and more gold foil die cuts.


I've been asked how I use sequins on a page. I use them to highlight some groups of embellishments. Just like confettis. I like them way more than the enamel dots because they are sparkly! :)

I hope you liked my walk through!!

Talk to you soon with more beautiful layouts. I promise!!

Marie