Showing posts with label Challenge. Show all posts

Tuesday, May 3, 2016

Citrus Twist Kits DT | National Scrapbooking Day

Hello y'all

National Scrapbooking Day is just around the corner and Citrus Twist Kits is celebrating with an Instagram Hop AND a Giveaway!! :) Here is the project I created for the hop. If you would like to participate, please head over to Instagram and from my account you'll be able to visit everybody on the DT, leave each one a comment and be entered in the drawing of 3 25$ CTK Gift certificates!!

On Instagram, follow @mpcapistran

I also have a challenge for you to inspire you and jumpstart your creativity at the end of this post. 

Here's my project created with the gorgeous, gorgeous May 2016 PL kit:


This is the last week of March. My parents were visiting. I thought the products in the kit were just perfect for celebrating spring and people we love.


The embellishments in the kit include epoxy stickers from the Paige Evans collection Fancy Free.


And they also include a pack of Project Life ephemera with silver foil. Friends, we might not be over gold quite yet, but I'm telling you, Silver is the new gold. Be prepared! And it's gorgeous!!


Citrus Twist Kits ALWAYS have the prettiest exclusive embellishments!!! I would take tons of these and could use them up!! Look at the "week" in clear turquoise. So yummy!! And there is a lot of very beautiful subtle yellow in the card which paired with the turquoise is just perfection. I added some stitching and stamping on this card.


From the Fancy Free 6x6 paper pad I was able to punch out several 1" circles with little words on them. Cut in half and stitched along the side of my photos, they are just so pretty.


Lots of cards with room for journaling. I just love it!!  With the kit you also get a sheet of labels that you can cut out. It's my most used products on my Project Life spreads. The labels are perfect to add small details.


Small core hearts. There are 3 kinds of them. This tiny one.


The bigger one with the you burnt in the middle.  And another one that it slightly bigger with an empty center. Really cute and versatile. Here I layered a cork heart over a Project Life embellishment and I added an epoxy sticker (Fancy Free) + I typed Church on a piece of cardstock that I then cut to size (5 church was the name of the restaurant)


Here I typed on vellum and I cut out my journaling into stripes. You can't really see it on this picture but the "capture" in silver foil. Also look at this cute aqua acrylic flower. <3 nbsp="" p="">

Here again a circle that I punched out from a piece of paper + some journaling on a card.  Little hearts make great bullet points :)


Here I played a little bit with the stitching. And I also typed "new bike" on the card before I stitched the word hello.


The small "loving" was cut out of the label sheet. And I typed my journaling in some of the patterned paper included in the kit. I added more half circles.


Sometimes, because my camera doesn't shoot in 4x6, I'm "stuck" with weird format photos that I can,t really crop to a 4x6. What I do is I mat these photos on patterned paper. It's perfect to add a little bit of color to my spread. Paired with an epoxy sticker and the cork heart, it's juts enough to dress up my photo a bit.


And here's another look at the journaling card where I stitched the word sticker "Sweet".

Now, for the NSD week, as inspiration, I have a challenge for you:

Use ONLY products that your really LOVE on your next page and use your handwriting.

Easy enough?? :)
If you play with me, I'd be really happy if you would post a picture to Instagram an tag me in it. And if you have a link to a blog post, leave it here in the comments or on Instagram. I'd love to have a look at what you do.

Have a great National Scrapbooking Week my friends!!!

Marie xo


Tuesday, January 5, 2016

One Little Word 2016 | Responsable

Hi everyone!
Happy New Year!
Salut tout le monde!!
Bonne Année!

I hope you had a great holiday and that you are easily getting back into your daily, "normal" life. :)
We had a great time in Canada. We could enjoy snow and mild temperatures (who would have thought this could happen in Canada?!), family time and because of a mechanical problem on the aircraft I was supposed to take and of an overload of travelers, I could enjoy 4 more days in Canada than what was planned. Hubby had to celebrate New Year's eve alone, but on the other hand, I could be home for the first time in something like 15 years! That's priceless!! So anyway, I'm back in North Carolina now and trying to get the scrapbooking wheels rolling again. :)
J'espère que vous avez passé de belles fêtes et que vous vous réadaptez bien à votre routine. :) Nous avons passé un super beau moment au Canada, chez mes parents. On a pu profiter de la neige et du temps super doux (qui aurait cru que ca se pouvait en hiver au Québec?!), de ma famille et à cause de problème avec l'avion que nous devions prendre le 30 janvier, on a dû rester au Québec 4 jours de + que prévu. Résultat: mon mari a célébré le jour de l'an seul, mais l'autre côté de la médaille c'est que j'ai pu célébrer le nouvel an avec mes parents en regardant le Bye Bye, le show de Fred Pellerin et le show de Rock et Belles Oreilles, chose qui n'était pas arrivée depuis environ 15 ans!!! :D Donc me voici de retour chez moi, en Caroline du Nord, à essayer de me mettre à jour dans mes choses à faire. 

Here's a page I made about my Little Word of the year 2016: Responsible.
Pour me réchauffer en scrap, j'ai décidé de commencer par une page sur mon mot de l'année: Responsable.


I have been inspired by the January 2016 Challenge from Lime Citron. I thought the sketch was really fun to adapt to a 8.5x11 format (the size of my One Little Word album) and the color combo was really speaking to me. I couldn't resist stitching with some silver thread and adding silver and great stars.
J'ai été inspirée par le défi de Janvier lancé par Lime Citron. J'ai beaucoup aimé adapter le sketch à une page 8.5x11 (format de mon album "One Little Word") et le combo de couleur me plaisait avec ses tons de bleu et de gris. Je n'ai pas pu résister et j'ai cousu avec du fil argent. Une de mes choses préférées à faire sur une page! J'ai aussi ajouté des étoiles argent, grise et turquoise.


Look at this giant acetate "bokeh" star.
For the blue watercolor look behind my picture I used my tomboy brush pens. I mixed some blue and some green and used lots of water to make it translucent.
The word "responsable" was hand written with another brush pen and cut out with scissors. I adhered it with foam adhesive. You can see the stitching here that goes incircles under my picture.
And over my journaling, which is totally fine since we still can easily read. :)
Derrière ma photo j'ai inséré une grosse étoile grise en acétate. 
La peinture bleue a été faite avec un mélange d'encre verte et bleue et beaucoup d'eau.
Le mot "responsable" a été écrit à la main avec un feutre-pinceau puis découpé à la main. Je l'ai collé avec de l'adhésif mousse pour donner de la dimension. Sur cette photo vous pouvez voir le fil argent qui passe derrière ma photo et par-dessus mon texte. Ca ne me dérange pas tellement puisqu'on peut encore très bien lire.


I typed my journaling with my typewriter. Love the effect!! My journaling is defining my word and going a little more in the details of what I'd like to see change in 2016. It's almost like a statement of everything I am responsible of: my daughters, the time I go to bed, where I put my time, my health, my happiness, my softness, my positiveness, etc. :)
Le texte a été tapé avec ma machine à écrire. J'adore l'effet!!! Mon texte est un peu une définition de mon mot et surtout de ce que je veux voir arriver dans ma vie cette année. C'est aussi une prise de conscience, un renforcement de mon mot dans ma tête et dans mon coeur. 


On the corner of my photo I added a tiny wooden clothespin on which I glued a tiny red bird from the Merry and Bright Collection from Pretty Little Studio.
Au coin de ma photo j'ai mis une mini pince en bois sur laquelle j'ai collé un petit oiseau rouge de la collection de Noël de Pretty Little Studio. 


Here I used a small deer die cut and a cute snowman flair also from Pretty Little Studio.
I adhered some silver, white and grey stars here and there.
Et dans ce coin-ci j'ai ajouté un die cut d'un petit faon ainsi qu'un flair aussi de Pretty Little Studio. Une autre étoile bleue en acétate et quelques étoiles argent, grise, blanches et turquoise.


And I finished by sprinkling teal sequins + 2 red sequins to guide the eye through the page (visual triangle with the red bird) and to break the very soft look of the page.
J'ai terminé en ajoutant quelques paillettes bleues turquoise et 2 paillettes rouge pour guider l'oeil dans la page (triangle visuel formé avec le petit oiseau rouge) et pour briser le look super doué de la page.

I also would love to add my page to the Anything Goes January Clique Kits challenge!! :)

Did you choose a Word for tis year? If so, you can write it in the comment section. :) I find that ready each others words is very inspiring.
Et vous? Avez-vous choisi un mot phare pour l'année? Si oui, vous pouvez l'écrire dans les commentaires. C'est toujours inspirant de lire les mots des autres.

Thanks for looking!!
Merci d'être passé par ici!!

Marie-Pierre

Tuesday, April 1, 2014

Pretty Little Studio | Sketch Challenge

Hi everyone!

Today I have a page on the Pretty Little Studio blog. :)

There is a sketch to follow and you can play along if you wish. What I particularly like about working with a sketch is that it takes you where you might have never been before. This page is not really my type of page, with LOTS (!!!) of white space…. but I must say that it came together very quickly once I had found my story and at the end of the day, I'm quite happy with my layout.


Finally, when the page was done and photographed, I decided that I wasn't satisfied and that although it looked good, my story wash,t complete. So I made a second page to complete this one. You'll see that one in a couple of days. ;) Meanwhile, go have a look at the sketch and tell me what you think of the page. Do you like a rather cute page with a shorter story, or a full page, maybe less appealing, but with way more details about the story?

Thanks for coming by today!! I appreciate it. :)

Marie

Saturday, June 18, 2011

My Minds Eye Blog Challenge 24

Voici ma participation au 24e défi sur le blog de My Minds Eye.
Ma chanson: Happy Birthday to you. hihihi!
Tous les produits utilisés sont de My Minds Eye sauf le ruban bleu (Martha Stewart), Le baker's twine (source inconnue) et les lettres bleues et blanches (American Crafts + Dear Lizzy)
Voici le sketch:

Here's my participation to the 24th My Minds Eye blog challenge.
My song: Happy Birthday to you, magnificently sung by US!! hehe!
All products from My Minds Eye except for the blue ribbon (Martha Stewart), the twine (unknown source), and the blue and white Thickers (American Crafts + Dear Lizzy).
Here's the sketch:


Et ma page. S'il-vous-plait, cliquez sur l'image pour la voir en plus grand. La différence vaut le coup.

And my page. Please click on the image to take a close look at it. The difference is worth it.


Et les détails: Un petit oiseau qui chante

And the details: A little birdie singing


3 ans!! La date, une boucle, du ruban, du baker's twine, de la couture, des bordures.

3 years old!! The date, ribbon, baker's twine. sewing, borders.


Mon titre et le titre de la chanson. Quelques notes de musique.

My title and my song's title. Some music notes.


De la couture à la main pour ajouter une fleur suspendue.

Hand stitching because I added a hanging flower.


Ceux qui me connaissent et se demandent où est mon texte, il sera sur la page adjacente. A venir....

For those who know me, my journaling will be on a 2nd page. Still to come....

A bientôt
Marie-Pierre

Sunday, May 8, 2011

My Mind's Eye

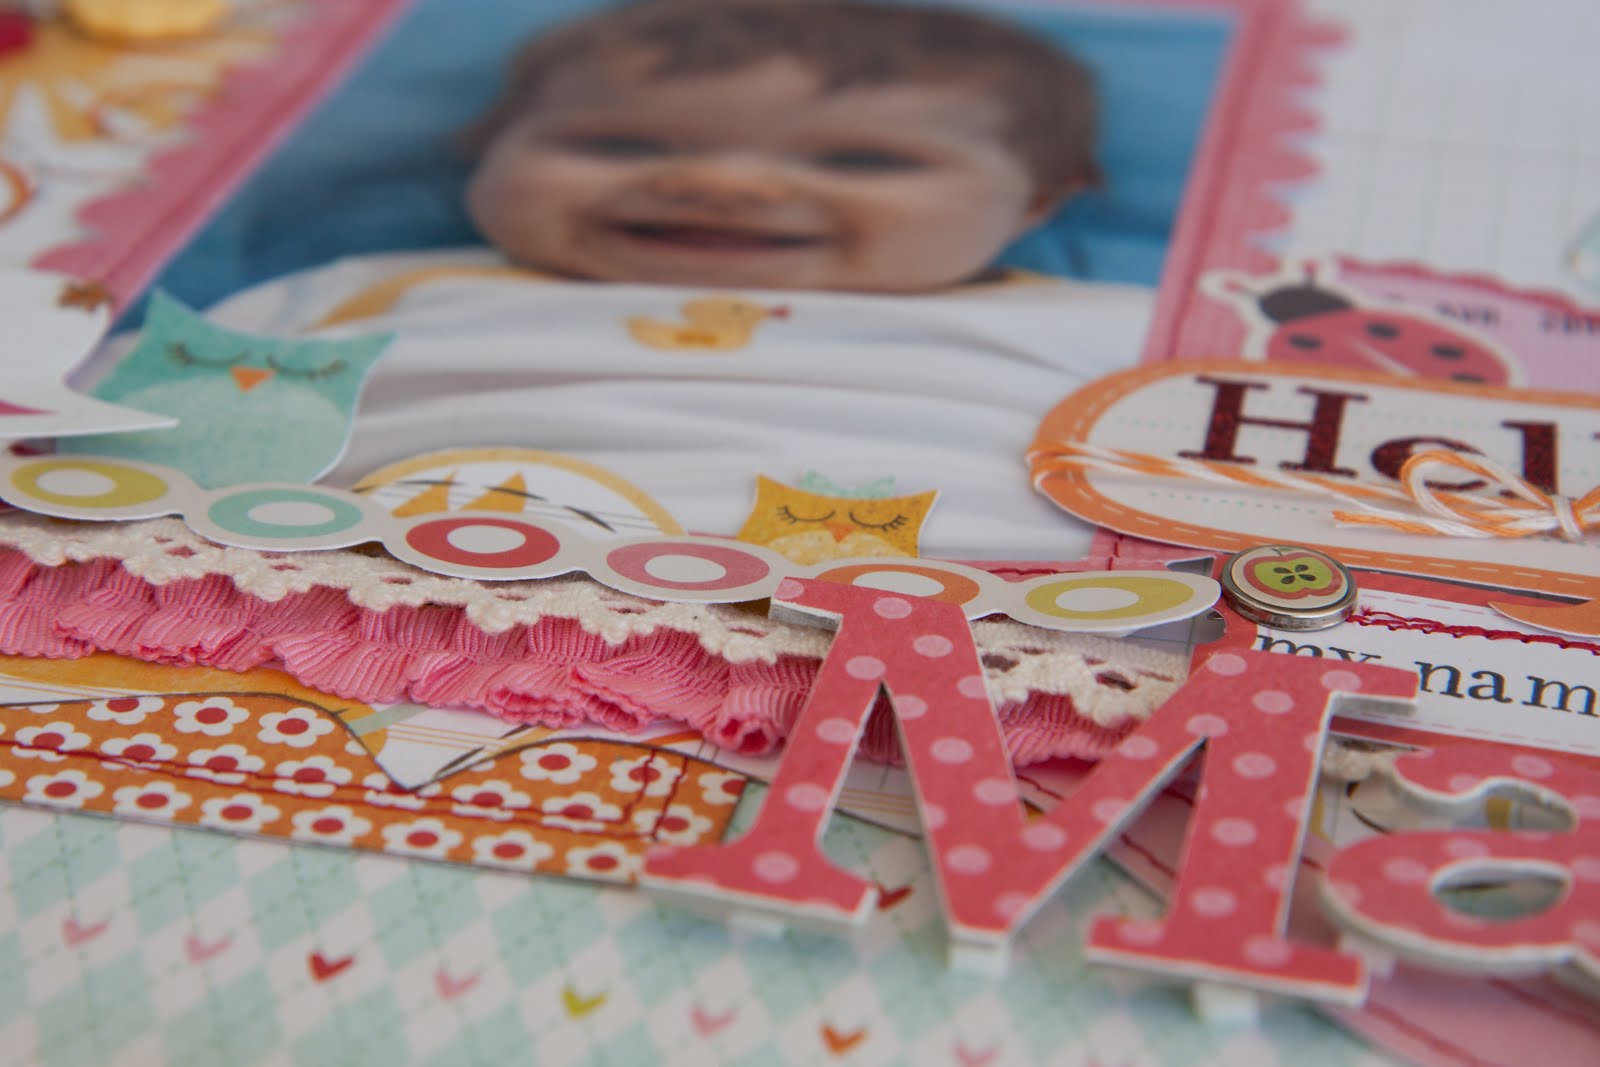
Une page pour Maya!!
Faite entièrement (ou presque) avec des produits My Mind's Eye. :) J'adore My Mind's Eye!!!! Leurs produits me permettent de produire des pages qui sont totalement MOI! :)
Cliquez sur les photos pour les voir mieux.

A page for Maya!!
Made entirely (or most of it) with My Mind's Eye products. I love their products. They allow me to make pages that are totally ME! :)
Click on the pictures to see them bigger.

Et je m'en suis donnée à coeur joie dans les détails et le bricolage!! Des couleurs douces et fraîches, de la couture, des rubans, des papiers à motifs, du découpage, ...

I had so much fun playing!! Adding details and crafting! Fresh and soft colours, sewing, ribbons, designer papers, cutting, ...

Des boutons, des attaches parisiennes, des stickles, des mots, ...

Buttons, brads, stickles, some words, ...
(the journaling reads: I liked Elise, Elyane, Emilie. Dad liked Sarah. Since the beginning we both loved Maya. We hesitated though. We were concerned that people would call you "Maya the bee". Maya, it's short and it feels sunny. And on internet, some Maya wrote that they loved their name. Maya. It fits you perfectly!)

De la couture sur des die cuts de toutes sortes, des lettres en chipboard recouvertes de papiers à motifs, ...

Sewing on die cuts, chipboard letters covered with designer papers, ...

De la dimension, ...

Some dimension, ...

Un beau cadre avec de la couture, ...

A nice frame with more sewing, ...

Des bordures de toutes sortes, une bordure en chipboard, ...

Borders of every kind, a chipboard border, ...

Des lettres brillantes, du baker's twine, des poinçons, ...

Glittery letters, baker's twine, punches, ...

J'ai eu beaucoup de plaisir à faire cette page et je suis super contente du résultat et...ah!! Ca a fait du bien!!! :)

à bientôt

I had so much fun doing this page and I'm very happy about the outcome and..... ha! It feels so good. :)

see you soon

Marie-Pierre

Saturday, February 13, 2010

Caardvarks - 2nd card

Here's another card for the Caardvarks wedding card challenge.


I used my spellbinders (Label 1) to cut and emboss the shape. I inked around the edges and stamped with a background stamp from SU!. I then tied a ribbon (SU!) around the die cut shape and adhered a butterfly (Prima) with some dimensionnals. I then rubed a rub-on (SU!) on the ribbon. I mounted that on patern paper from BoBunny and then on a chocolate base card (SU!).

I find the card very classy and elegant.
I'm looking forward to read what you think.
Marie

Caardvarks

Hi Guys!
When I saw on Caardvarks that there was another challenge, I though, ok, I have to do this again!! I had sooooo much fun last time. :)
This time, the challenge is to make a wedding card.
I wanted to make something fresh, simple and yet sweet. So here what I came up with. How do you like it?
(click on the picture to see it bigger)

And here are some details of the card:


The flower in the bride's hair (read feather) and the bow around the groom's neck...

The hearts made with my beloved sewing machine...

The ribbon and frame also sewed with my sewing machine and my handwriting for the vow...

I'd be happy to read your comments!
Marie

Saturday, October 3, 2009

Caardvarks...thanks so much!!!

Je suis sur caardvarks.blogspot.com en ce moment....
Je suis toute excitée.
Ca m'a fait un vide dans le ventre de voir ça!!
Allez me laisser un commentaire si le coeur vous en dit! En français ou avec votre anglais du dimanche si vous vous sentez capables!!!! :)
Merci à l'avance,
Marie-Pierre

Thursday, October 1, 2009

les gagnants sont connus...


Pour connaitre les gagnantes (ils en ont choisi 2) du concours Sketchfest de Caardvarks auquel j'ai participé, rendez-vous sur leur site. En attendant je peux vous dire que je n'ai malheureusement pas gagné une place sur leur équipe créative, mais que j'ai quand même reçu une mention d'honneur et une place comme artiste invitée sur Caardvarks.com samedi le 3 octobre en l'honneur du jour international des cartes artisanales. C'est au moins ça. Et tout le plaisir que j'ai eu à créer, évidemment et à lire tous vos messages!! Je n'ai jamais reçu autant de commentaires avant de participer à ce concours et ça m'est allé droit au coeur. Merci à toutes celles qui m'ont encouragée et qui ont cru en moi! Ce n'est que partie remise!! :)

Pour ce qui est de mon billet d'hier sur la Suisse, je ne m'attendais pas à autant de réponses non plus....... vous me faites bien rire! :D

Nathalie, Isabelle et CeeCee, excellent si je peux vous faire voyager de votre salon!! :)

Janique, la culture suisse allemande est bien loin de la culture suisse romande..... et comme mon mari est suisse allemand et que j'ai passé mes premières années en Suisse allemande, c'est vrai que c'était encore plus différent du Québec-ça explique le blé d'inde et tout ce que je ne trouvais pas à l'épicerie. C'est vrai qu'ici je me sens déjà un peu moins dépaysée. Pour ce qui est des guimauves, je ne crois pas qu'elles sont arrivées en Suisse alémanique et peut-être même qu'elles n'y arriveront jamais. En passant, tu aimes le jus de tomates? J'ai pas encore trouvé un Suisse qui aime ça et chez nous, tout le monde en boit.

Loana, c'est presque normal que tu ne sois pas allée au Creux-du-Van. Je ne suis jamais non plus montée dans la tour du stade Olympique. Pourtant il paraît que la vue de là-haut est superbe. ;) Des cretons, une fois par année c'est correct. À la cabane à sucre, accompagné de beaucoup de sirop et d'oreilles de Christ. Tu connais??! :) PS: j ne te vois jamais à la boutique quand j'y vais...... :(

Mouti....mmm!! Une bonne fondue au fromage à Gruyères!! :) Il faut dire que la nourriture d'une certaine française qui habitait à Bern faisait monter la moyenne Suisse. ;) PS: Les français boivent du jus de tomates eux??


Saturday, September 26, 2009

it's the last one

Hi guys!
Yes that's right, that's the last card for the Caardvarks sketchfest. I'm happy I could play everyday!! And I hope I can make the team; I would be sooooo happy!! Thanks for the chance anyway!! :)
So here's my card for todays sketch.
With Halloween coming up soon, I thought I'd go this way.
For this card, I made a "découpage". It's a swiss art (I live in Switzerland, although I'm Canadian) made by cutting black paper with tiny scissors. Because many of you may not know this technique, I did some picture while making the card that I will post further down with some explanations. So if you're curious about it, stay with me until the end. :)

Bonjour à toutes!
Ben oui, c'est vraiment la denrière carte que j'ai faite pour le concours de caardvarks et je suis super contente d'avoir pu jouer jusqu'au bout car ça me rend éligible à la place dans l'équipe de création. Ca serait le fun hein??! :D
Bref, comme dernière carte j'y suis allée avec une technique que j'affectionne particulièrement et dont j'avais déjà parlé sur mon blogue: le découpe. Cet art suisse consiste à découper un motif dans un papaier noir avec de minuscules ciseaux. J'ai pris des photos pendant que je faisais le découpage parce que la dernière fois que j'ai publié mon découpage, il y avait des filles qui se posaient des questions..... Si ça vous intéresse, allez voir plus bas. :)


A little dimension.

Un peu de relief.


And a ribbon and a tiny knot.

Et un ruban noir avec un petit noeud.

And here's how I cut the tree and the cats.... with very sharp and thin scissors on black paper... I first drew my tree and the cats (well, I cheated this time by printing a "decoupage" that I had already done some months ago) and then I have cut around. This kind of paper has a white side, where we can draw, and a black side. This technique is very hard on the eyes and it's a great exercise for patience. ;)

Alors me voici en train de découper mon motif sur du papier noir. J'ai d'abord dessiné (ok, ici j'ai triché, j'ai imprimé le découpage que j'avais déjà fait l'autre fois...) mon dessin et ensuite j'ai découpé. Le papier à découpage est blanc d'un côté pour nous permettre de dessiner et noir de l'autre. Cet art est bien dur pour les yeux et il nous permet d'entraîner notre patience. :)

Here's the white side of the paper with the printed drawing.

Voici le côté blanc du papier avec mon dessin imprimé.

And now I'm gluing it to the card. I only adhere some parts of the tree so that some leaves and branches will stand out for dimension.

Et maintenant je le colle sur ma carte. Je colle seulement quelques parties pour que les feuilles soient libres et donne un peu de relief à ma carte.

There you go. Thanks again for the chance to participate in such a great event. And for all the comments you left me during the whole week. It was greatly appreciated!

Voilà, c'est ce qui conclue cette super semaine. Merci encore pour tous vos commentaires!!!!!

Marie-Pierre